
Configure Project
Step by step guide
- Go to Add-ons page as step 1 at Configure Graphic Language Schemes
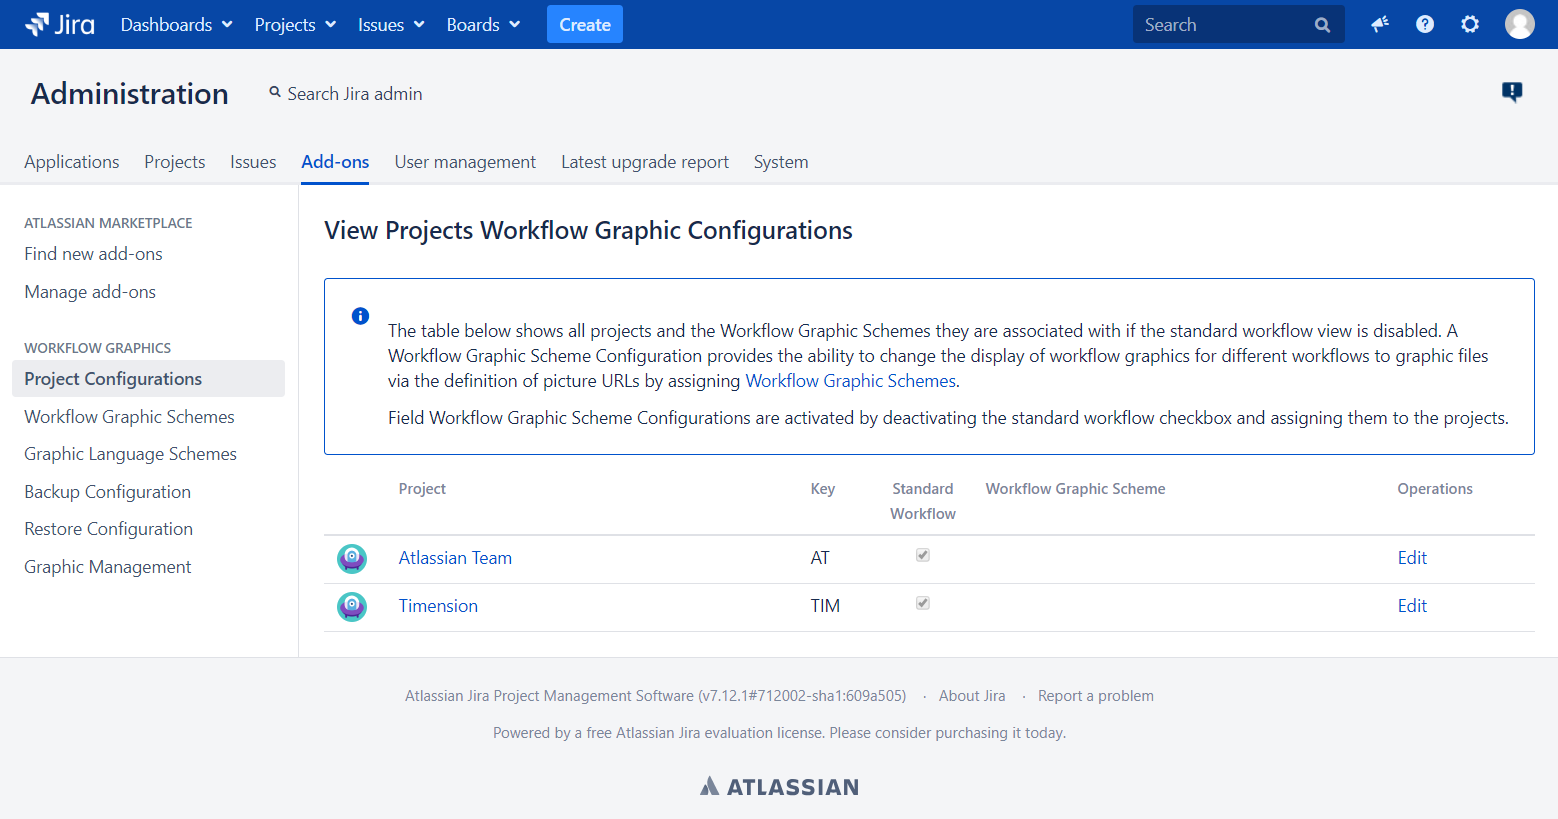
- In Add-ons page, click on the link Project Configurations under Workflow Graphic section. You will go to View Project Workflow Graphic Configurations page, where you will see a list of projects you have.
- Click Edit on the project that you want to configure. Next, go to the Edit Project Association page and decide if you want to use a standard workflow of Jira for your project or use your custom workflow by check or uncheck the checkbox Standard Workflow.
If the checkbox Standard Workflow is unchecked you will see a list of all already existing Workflow Graphic Scheme by expanding the content of the field "Workflow Graphic Scheme ". Choose your target Workflow Graphic Scheme to assign it to your project. Then click Update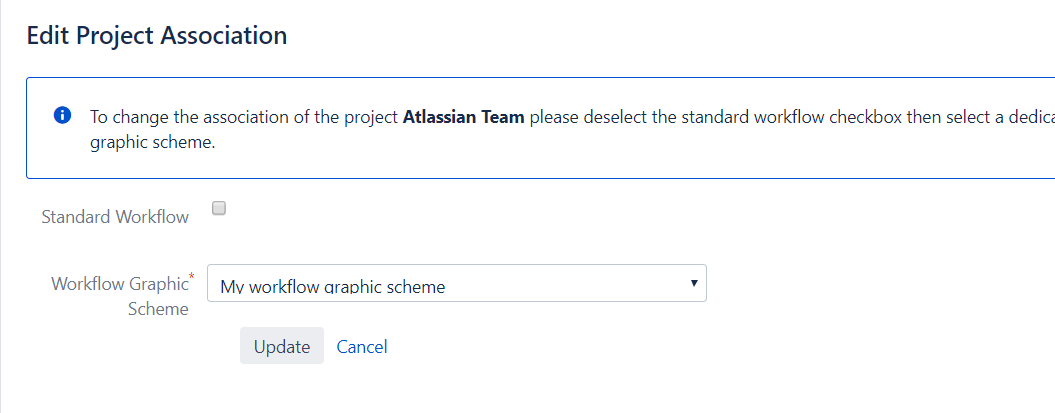
Now you should be sent back to the View Project Workflow Graphic Configurations page and you should see your project is in the configuration you made.

You are now done with the Configure a Workflow Graphic for the project. Next, you will be shown how to backup and restore your configuration.